
SCCM/MECM Collection basics to advance information Part 2
- Vichitra Mohan
- Feb 25, 2024
- 2 min read

Let's begin by establishing a fundamental and straightforward custom collection aligned with industry standards. It is essential to adhere to best practices, and our collections should primarily rely on Active Directory (AD) Group memberships. It is strongly recommended to avoid creating collections with direct memberships. Instead, opt for query-based memberships that query AD and retrieve objects from the source AD group.
Implementing collections in this manner offers several advantages:
Reducing direct access to the SCCM console with administrative rights.
Allowing SCCM administrators to allocate more time to high-priority projects and tasks as this can be simply handled by Service Desk.
Facilitating quick and straightforward actions for any deployment request.
However, this approach requires some preparedness from the AD perspective, including correctly defining and implementing the hierarchy structure in AD. Ensuring the AD discovery path is accurately updated in the Microsoft Endpoint Configuration Manager (MECM) configuration is crucial. Additionally, SCCM enables the creation of folders on almost all object nodes, allowing the organization of items within the consoles and the creation of logical placeholders for content in a multi-tiered hierarchy.
Collections can be structured according to company preferences. Here are some examples that demonstrate how to organize collections within the User or Device Collections, forming the following folder structure:
Compliance Settings
Inventory and Reporting
Projects
Software Deployment
Operating System Deployment
Software Updates
Testing
To create such a collection in the MECM console, follow these steps:
Open the MECM Console:
Log in to the server where MECM is installed.
Open the MECM console from the Start menu or desktop shortcut.
Navigate to Device Collections:
In the MECM console, go to the "Assets and Compliance" workspace.
Expand the "Overview" section.
Select "Device Collections" to view existing collections.
Create a New Device Collection:
In the "Device Collections" pane, click the "Create Device Collection" ribbon button.

This action opens the "Create Device Collection Wizard."
Specify General Information:
On the "General" page of the wizard, enter a name for the new collection in the "Name" field.

Optionally, provide a comment or description.
Choose a limiting collection by clicking "Browse" and selecting a limiting collection.
Define Membership Rules:
Emphasize AD-based collection creation.
Use query rules, specifically emphasizing the importance of AD group creation mentioned earlier in this post. Proceed to the "Membership Rules" page by clicking "Next."
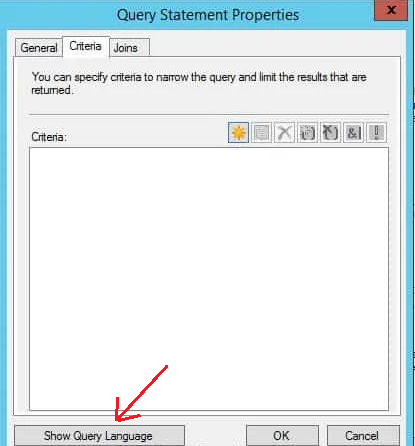
Click "Add Rule," selecting "Query Rule."

Utilize the following SQL query to connect with the respective AD group and create the membership rule.

Select SMS_R_SYSTEM.ResourceID,SMS_R_SYSTEM.ResourceType,SMS_R_SYSTEM.Name,SMS_R_SYSTEM.SMSUniqueIdentifier,SMS_R_SYSTEM.ResourceDomainORWorkgroup,SMS_R_SYSTEM.Client from SMS_R_System where SMS_R_System.SecurityGroupName = "Domain\\ADGroupName"
Upon completing the collection creation wizard, manually update or refresh the membership on the newly created collection to ensure all objects that are members of the AD group are populated in the target collection.


Comments